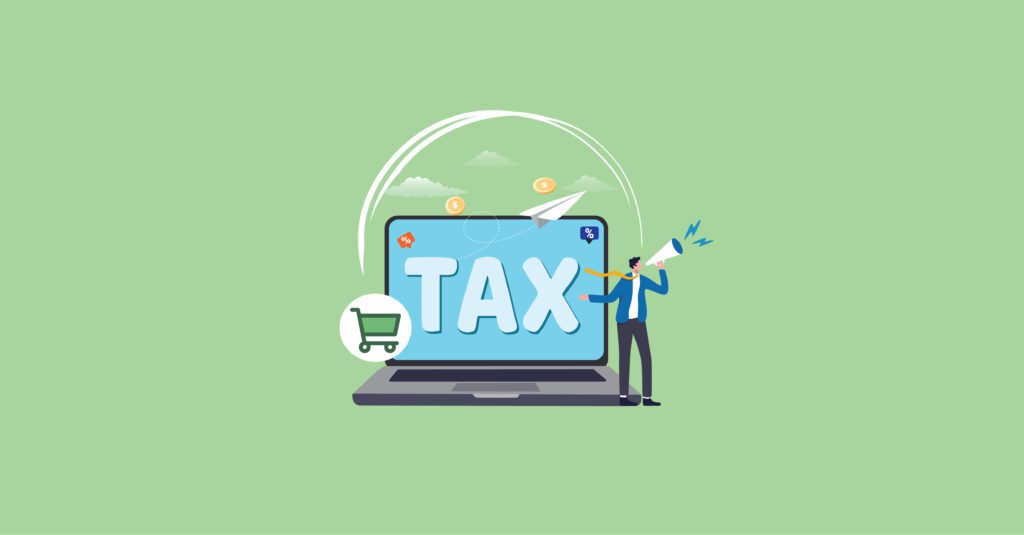
As a WooCommerce store owner, one of the most important things you need to consider is taxes. It’s easy to get lost in the complexities of tax codes and regulations, especially with the requirements varying depending on where your customers are located. However, understanding and implementing sales tax properly is crucial, as mistakes can result in penalties and legal issues. In this article, we’ll discuss everything you need to know about woocommerce sales tax.
The basics of sales tax in WooCommerce
If you’re unfamiliar with sales tax, it’s a tax on goods and services. In WooCommerce, you need to determine which jurisdictions you have nexus in. Nexus is a connection between a business and a state that requires said business to collect taxes on sales. You should also know the tax rates and rules that apply to each jurisdiction, which include things like product and service categories, tax exemptions, and what forms need to be filed.
The importance of determining nexus
Personal or physical presence of a business in a state can create nexus. It can be tricky to determine which states you have nexus in, as the rules can vary from state to state. You should keep in mind that just because your business doesn’t have a physical location in a state, it doesn’t mean you’re exempt from sales tax liability. If you’re utilizing third-party services or employees in other states, you may still have nexus there. Once you determine which states you have nexus in, you’ll be required to collect and remit sales tax from your customers in those states.
Automatic tax calculation in WooCommerce
WooCommerce offers automatic tax calculation, helping to simplify the sales tax process. You’ll first need to ensure that your store is configured correctly. The tax rules and rates should be set up correctly for each jurisdiction you have nexus in. Then, when a customer is checking out, WooCommerce automatically calculates the sales tax based on their shipping address.
How to set up sales tax in WooCommerce
To set up sales tax in WooCommerce, you’ll need to configure tax settings. Navigate to WooCommerce > Settings > Tax. Ensure that “Enable taxes” is checked. Then add the tax rates for each jurisdiction you have nexus in. For example, you could add a rate for California and another rate for New York. WooCommerce allows you to set tax classes based on product categories, making it easy to apply the correct rate to each specific item. Keep in mind that there may be tax exemptions for certain types of products or services, so be sure to do your research.
Staying compliant with sales tax regulations
The rules and regulations regarding sales tax are constantly changing, so staying compliant can be a challenge. It’s important to keep up to date and ensure you’re following the correct procedures. You can also consider using sales tax compliance software for added assurance. Regularly reviewing your tax settings and updating them when needed is essential to avoid costly mistakes.
Conclusion:
WooCommerce sales tax can feel overwhelming, but it’s an essential part of managing an online store. Understanding sales tax basics, determining nexus, and configuring automatic tax calculation in WooCommerce can go a long way in simplifying the process. Just be sure to stay up to date on ever-changing regulations and procedures to avoid penalties and legal issues.


 icons at the top right corner of the subsection.